Learn How to Adjust Your Spin Bicycle

Spinning is a sport that combines enthusiasm, energy, music, and fun. It has recently become a very popular hobby among many people. If, like them, you want to become an expert in this effective workout, it is essential that first, you learn the basics of how to adjust your spin bicycle.
The first thing to keep in mind while learning how to adjust your spin bicycle is that you will need to maintain a correct posture throughout the indoor cycling session. This is in order to avoid back and neck pain.
Additionally, a good warm up will help you to prevent some common cycling injuries, which can be incredibly frustrating and hinder your progress.
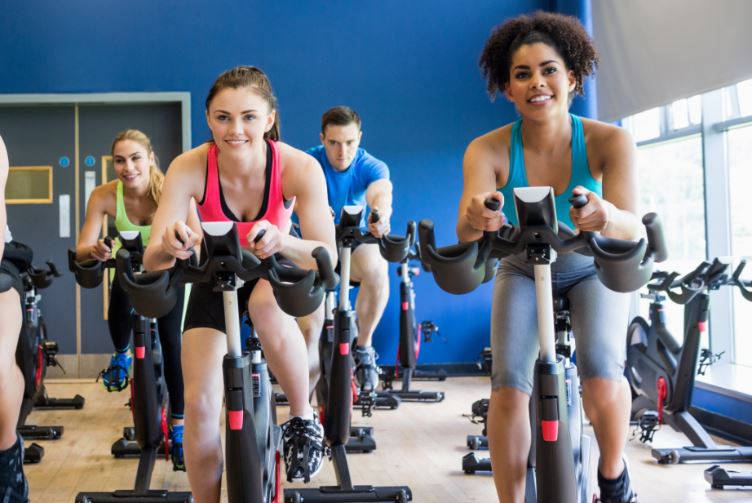
Although the pace and intensity vary throughout the workout, overall it is tremendously repetitive, so a poorly adjusted bicycle will result in bad posture that can harm your health.
Typically, your instructor will have no problem with helping to adjust your spin bicycle. However, there may be times in which the number of cyclists attending the class is too high and the instructor cannot help you. So it doesn’t hurt to have some basic knowledge on how to adjust your spin bicycle.
So, how do you adjust it? You simply have to take into account the following:
How to Adjust Your Spin Bicycle: Foot position
You must ensure that you align the middle part of your foot (the part just below the toes) within the pedal and before adjusting the straps.
This is the firmest and widest part of your foot and, therefore, this is the most comfortable and efficient way to place your lower extremities on the pedals.
Seat height
Once you have set the pedals, the next thing you should do is to adjust the seat height. Stand next to the bicycle and adjust the seat to the same height as your hip bone.
After making this adjustment, get on the bike, place your feet on the pedals, and ensure that at the pedal’s lowest point, your leg is extended–but with your knee slightly bent.
As for the inclination of the seat, it must always be placed parallel to the ground. If you adjust the tip of the seat downwards, you run the risk of slipping during class and if the tip is too high, you can hurt yourself.
Handlebar height
The handlebar must be at the same height as the seat or, at most, a little higher. ‘A little’ higher just means a couple of centimeters, not placing it at the height of your shoulders.
If you set the handlebar too high, your shoulders will be tight for the entire session, your back badly placed, and you are likely to suffer discomfort in the cervical area.
Horizontal adjustment of the seat
The horizontal adjustment of the seat, or as it is often called, ‘whole-rear adjustment,’ is made optimal by placing your feet, already anchored in the pedals, parallel to the ground (halfway through pedaling). At that point, the kneecap of your forward leg must coincide with the axis of that same pedal.
Horizontal adjustment of the handlebar
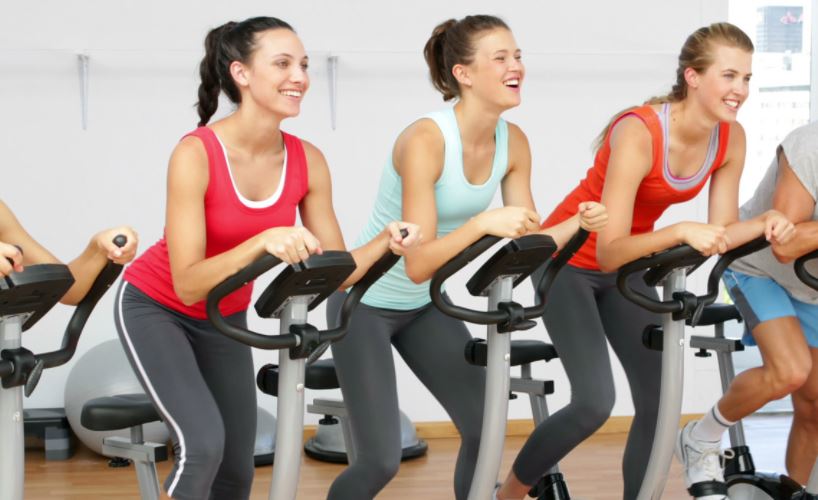
Obviously, you can move the handlebar forward or backwards. The ideal position of the handlebar is for the distance between the tip of the seat and the base of the handlebar to be the same as the length of your forearm – including your fingers.
In fact, you can even move it two or three centimeters forward. Mainly, you should notice that after getting on the bike, your shoulders are relaxed and your elbows are bent.
Following these simple tips, means that you will attain the comfort and safety of your spin bike and this will help you to get a better workout, achieve better results, and avoid possible injuries or muscle pain.
Wherever possible, ask your instructor for help on how to adjust your spin bicycle. If this is not possible, you will be able to do so yourself by following the tips in this article.
In case you still have doubts, here is a short video where you can get some additional tips for setting up the bike.
Other relevant topics to explore include spin bike cleats: how to place them, at what height, when to check them … but we will leave that for future articles.
Spinning is a sport that combines enthusiasm, energy, music, and fun. It has recently become a very popular hobby among many people. If, like them, you want to become an expert in this effective workout, it is essential that first, you learn the basics of how to adjust your spin bicycle.
The first thing to keep in mind while learning how to adjust your spin bicycle is that you will need to maintain a correct posture throughout the indoor cycling session. This is in order to avoid back and neck pain.
Additionally, a good warm up will help you to prevent some common cycling injuries, which can be incredibly frustrating and hinder your progress.

Although the pace and intensity vary throughout the workout, overall it is tremendously repetitive, so a poorly adjusted bicycle will result in bad posture that can harm your health.
Typically, your instructor will have no problem with helping to adjust your spin bicycle. However, there may be times in which the number of cyclists attending the class is too high and the instructor cannot help you. So it doesn’t hurt to have some basic knowledge on how to adjust your spin bicycle.
So, how do you adjust it? You simply have to take into account the following:
How to Adjust Your Spin Bicycle: Foot position
You must ensure that you align the middle part of your foot (the part just below the toes) within the pedal and before adjusting the straps.
This is the firmest and widest part of your foot and, therefore, this is the most comfortable and efficient way to place your lower extremities on the pedals.
Seat height
Once you have set the pedals, the next thing you should do is to adjust the seat height. Stand next to the bicycle and adjust the seat to the same height as your hip bone.
After making this adjustment, get on the bike, place your feet on the pedals, and ensure that at the pedal’s lowest point, your leg is extended–but with your knee slightly bent.
As for the inclination of the seat, it must always be placed parallel to the ground. If you adjust the tip of the seat downwards, you run the risk of slipping during class and if the tip is too high, you can hurt yourself.
Handlebar height
The handlebar must be at the same height as the seat or, at most, a little higher. ‘A little’ higher just means a couple of centimeters, not placing it at the height of your shoulders.
If you set the handlebar too high, your shoulders will be tight for the entire session, your back badly placed, and you are likely to suffer discomfort in the cervical area.
Horizontal adjustment of the seat
The horizontal adjustment of the seat, or as it is often called, ‘whole-rear adjustment,’ is made optimal by placing your feet, already anchored in the pedals, parallel to the ground (halfway through pedaling). At that point, the kneecap of your forward leg must coincide with the axis of that same pedal.
Horizontal adjustment of the handlebar

Obviously, you can move the handlebar forward or backwards. The ideal position of the handlebar is for the distance between the tip of the seat and the base of the handlebar to be the same as the length of your forearm – including your fingers.
In fact, you can even move it two or three centimeters forward. Mainly, you should notice that after getting on the bike, your shoulders are relaxed and your elbows are bent.
Following these simple tips, means that you will attain the comfort and safety of your spin bike and this will help you to get a better workout, achieve better results, and avoid possible injuries or muscle pain.
Wherever possible, ask your instructor for help on how to adjust your spin bicycle. If this is not possible, you will be able to do so yourself by following the tips in this article.
In case you still have doubts, here is a short video where you can get some additional tips for setting up the bike.
Other relevant topics to explore include spin bike cleats: how to place them, at what height, when to check them … but we will leave that for future articles.
This text is provided for informational purposes only and does not replace consultation with a professional. If in doubt, consult your specialist.


